I recently spent a week building a cheap, repeatable workflow to detect malicious firmware implants on consumer routers using nothing more than a Raspberry Pi and free tools. If you manage home networks, small office gear, or test client devices, this is a practical way to get visibility into whether a router’s firmware has been tampered with without buying an expensive hardware analyzer. Below I walk through the signals I look for, the tools I use, hands‑on steps to collect evidence, and options for deeper firmware analysis when you need it.
Why this matters (and what an implant looks like)
Router firmware implants are subtle: attackers modify firmware to add backdoors, persistent DNS hijacks, stealthy proxying, or covert command‑and‑control (C2). Unlike a simple misconfiguration, an implant survives reboots and often hides itself from the web UI. Detecting them requires both network‑level and firmware‑level inspection.
Typical indicators of compromise I watch for are: unexpected outbound connections (especially to cloud or dynamic DNS providers), persistent unusual open ports, modified web admin pages, unfamiliar root or service accounts, or firmware files that differ from vendor images.
What I build with a Raspberry Pi
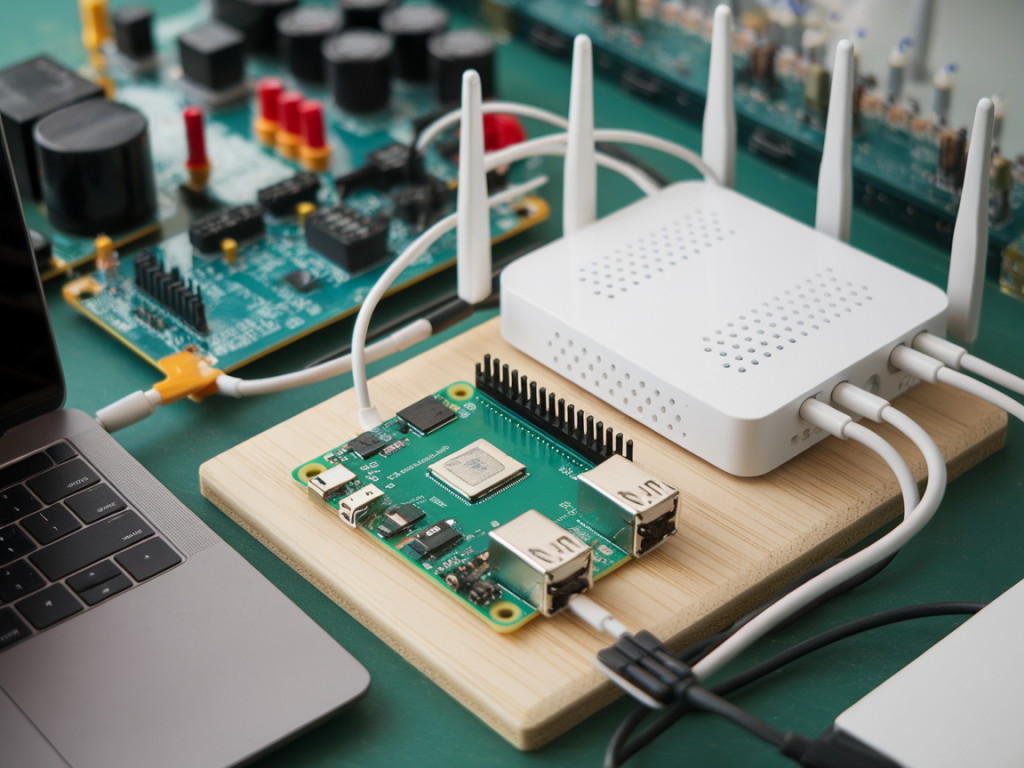
My goal was a portable kit: a Raspberry Pi 4 (2–4GB works), a microSD card, USB‑Ethernet adapter (if I need a third interface), a small USB power bank, and a cheap USB serial-to-TTL (for console access). With those components I can: sit inline and capture traffic, interrogate the router’s admin API, pull a firmware image (backup, OTA, or raw flash), and, when needed, extract flash contents via the serial console or SPI examiner.
Free tools I rely on
- tcpdump / tshark — packet capture and protocol inspection.
- nmap — port and service discovery.
- binwalk — firmware extraction and filesystem carving.
- strings — quick text discovery in binaries.
- sha256sum / sha1sum — integrity checksums.
- curl / wget — HTTP interactions and automated backup pulls.
- scp / ssh — accessing consoles where possible.
- dd and nc — dumping raw flash over the network (when supported).
- Ghidra — deeper binary analysis (free, but heavier).
| Device | Purpose |
| Raspberry Pi | Capture and analysis appliance |
| USB‑TTL Serial | Access bootloader / console |
| USB‑Ethernet | Extra interfaces for inline sniffing |
High‑level detection workflow
I split the work into three phases: network behavior, firmware acquisition, and firmware analysis.
Phase 1 — Network behavior baselining and detection
Before touching firmware, capture what the router actually does on the network. Put the Pi inline (router WAN on one Pi interface, Pi to the Internet on another) and start a controlled capture.
- Start capturing: sudo tcpdump -i eth0 -w router.pcap (replace interface)
- Run an active scan: nmap -sV -p- --script=banner 192.168.1.1 to enumerate open services and versions.
- Monitor DNS: run sudo tshark -r router.pcap -Y "dns" -T fields -e dns.qry.name to look for suspicious domains (randomized DDNS, cloud provider endpoints).
- Check TLS certificates: extract SNI and certificates with tshark to see if the router is connecting to odd cloud services.
Red flags: persistent connections to cloud endpoints not in vendor docs, encrypted tunnels (long TCP flows), or services exposing admin UI externally.
Phase 2 — Get the firmware (safe and repeatable)
There are three common ways to obtain firmware for inspection:
- Vendor‑provided image: download the official firmware for the exact model and version from the vendor site. Use checksums if provided.
- Router backup: some routers allow a full backup via the web UI. I use curl to script login and download if the UI supports it. Example: curl -u admin:password http://192.168.1.1/backup.cfg -o backup.bin.
- Raw flash dump: if you have serial or JTAG access, use the console to run dd to a TFTP server or netcat to stream flash contents: dd if=/dev/mtdblock0 | nc -l -p 1234.
When you can, prefer vendor images for baseline comparison and then compare the router’s actual image via checksum or binary diff.
Phase 3 — Firmware inspection with free tools
I start with file carving and quick triage, then move to deeper content analysis.
- Run binwalk: binwalk -e firmware.bin. This extracts filesystems and embedded objects (squashfs, cramfs, uImage). If binwalk finds a squashfs, you can mount or chroot into it for live inspection.
- Search for suspicious strings: strings firmware.bin | egrep -i "password|ssh|telnet|ddns|curl|wget|nc|bash|openssl|iptables".
- Check for added certificates or keys: look in extracted /etc/ssl or /etc/dropbear for unexpected keys.
- Compare to vendor image: use sha256sum and vbindiff or hexdump differences. Binary diffs often expose added scripts or modified init sequences.
- Inspect startup scripts: look at /etc/init.d, /etc/rc.local, and cron entries for added persistence mechanisms.
- Identify added tools: implants often include tiny reverse shells (busybox sh wrappers), or custom binaries. Use readelf and Ghidra for unusual ELF binaries.
Common implant patterns I’ve found
From hands‑on tests, implants show up as:
- Modified DNS resolvers or inserted iptables NAT rules that transparently proxy traffic.
- Hidden user accounts or SSH keys placed in root’s authorized_keys.
- Small C-based backdoor processes that spawn reverse shells or connect periodically to C2 domains.
- Modified web UI files that hide configuration changes but still perform malicious actions server-side.
When you can’t read the flash: use console & hardware tricks
If the router won’t give you a backup or you can’t dump flash via the OS, you can use the serial console to interrupt the bootloader and fetch firmware over TFTP. If the flash chip is exposed, tools like a CH341a SPI reader (cheap) let you dump the chip on the bench; use flashrom on the Pi to read/write the chip. This requires soldering and care—only do this if you’re comfortable with hardware.
Legal and safety notes
Only test devices you own or have explicit permission to inspect. Pulling and analyzing firmware can void warranties. Preserve evidence: copy raw dumps and checksums, record your steps, and avoid writing back to the device unless you’re restoring a known good image.
Next steps and practical tips
- Automate captures: write a small script to run nmap + tcpdump + binwalk, so you can repeat checks after firmware updates.
- Maintain a vendor image repository with checksums for quick comparisons.
- If you find an implant, isolate the router from networks, collect logs and images, and contact a professional incident response team if the device protects sensitive systems.
- For persistent monitoring, set the Pi to log DNS resolutions and TLS SNI for the router—many implants reveal themselves over DNS or periodic beaconing.
If you want, I can share a sample Raspberry Pi image configuration (packages and scripts) that I use to automate all these checks — it fits on a 16GB microSD and boots into a ready‑to‑use forensic toolkit. Tell me what router models you’re working with and I’ll tailor the commands and tips.