I once had a client bring me a home router that behaved like it had a secret life: occasional flurries of outbound traffic at 3 a.m., DNS responses that sometimes led to odd domains, and a slightly sluggish web UI. The vendor image looked normal and the firmware version matched what the vendor published. That’s the kind of situation where you start suspecting a stealthy firmware implant — code that survives reboots, hides from casual inspection, and uses legitimate-looking channels to exfiltrate data or provide a backdoor.
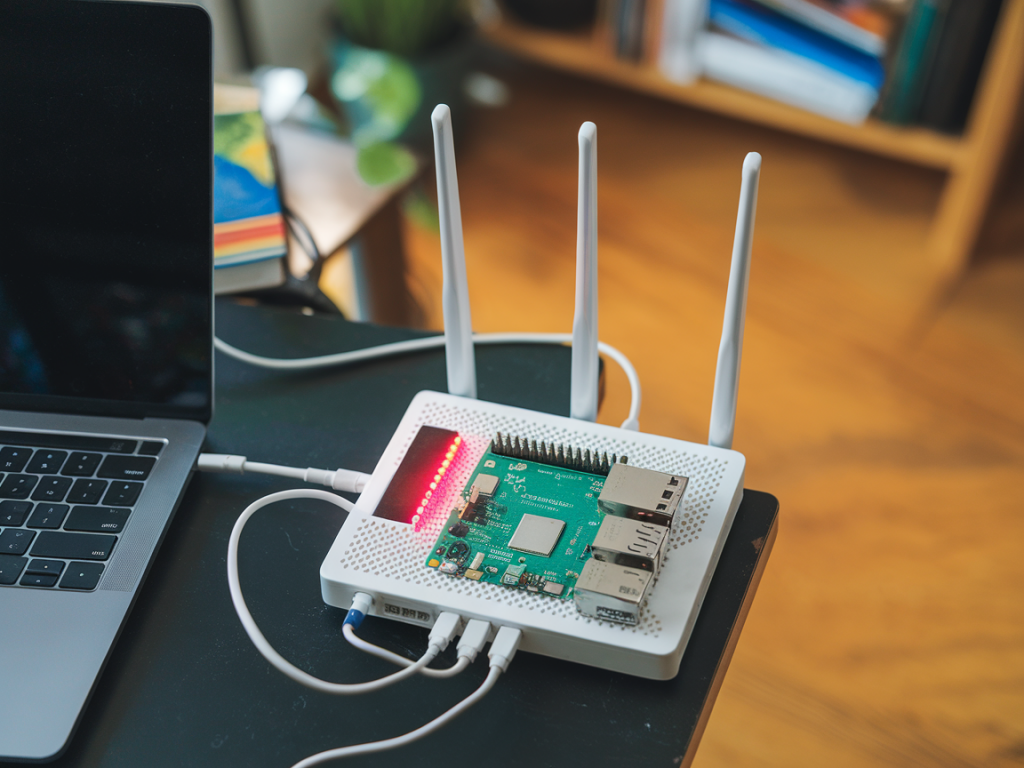
If you’ve got a spare Raspberry Pi and a handful of free, well-tested tools, you can uncover many of these implants without buying expensive hardware. Below I walk through an approach I’ve used in my lab: a mix of network forensics, offline firmware analysis, and hardware-level access via serial. I’ll show practical commands, what to look for, and how to decide whether an anomaly is malicious or just the router doing its job.
Threat model and preparations
Before we dig in, be explicit about what we’re looking for. A stealthy firmware implant usually:
For this guide you need:
Step 1 — Put the router on a monitored network tap using the RPi
The easiest low-risk way to monitor traffic is to place the RPi as a transparent bridge between the WAN and the router, or between the router and your LAN. That gives you canonical packet captures without modifying the router.
Create a bridge (example assumes eth0 connected to router, eth1 to modem):
Start capturing full packets to disk while you observe the router for a few hours (or over a period of suspicious activity):
What to look for in the capture (open with Wireshark or tshark):
Step 2 — Active network probing (nmap & co.)
With the router isolated on your test network, scan it to enumerate open services and odd ports. Implants sometimes open hidden management ports.
Key checks:
Also scan local devices behind the router — implants can proxy traffic or expose internal hosts.
Step 3 — Try the management interfaces and look for inconsistencies
Login to the router UI and check:
If the web UI looks normal but you can SSH in, run:
Be aware: a rootkit may hide processes and sockets. That’s why we combine this with offline firmware analysis.
Step 4 — Dump the firmware image (vendor image or router dump)
There are two routes: download the vendor’s official firmware image from their site, or extract a dump from the device itself. Start with the vendor image to compare later.
Binwalk will extract squashfs or other filesystems. Examine the extracted rootfs with strings, grep, and file checksums:
If you can’t get a vendor image (or want the exact running image), you can dump the flash. Some routers allow firmware readback via /dev/mtdblock or via a "backup" function. If not, use serial/JTAG (next step).
Step 5 — Use serial console (TTL) to inspect boot and persistent storage
This is the point where the RPi is invaluable as a USB-to-serial adapter. Many consumer routers expose a 3.3V TTL serial header. With the router powered off:
Watch the entire boot log. Look for:
If the bootloader or kernel has been modified, you’ll often see custom command lines or additional init scripts referencing odd paths.
Step 6 — Offline analysis: compare running image to vendor
Once you have a firmware extract from the live device and the vendor image extracted, do a recursive diff and checksum comparison:
Pay attention to:
Example: find suspicious files by name or inode flags
Step 7 — Kernel modules and hidden code
Some implants install kernel modules to hide processes or network sockets. In the boot log and /proc/modules you may see unexpected modules. Offline, check for .ko files in the firmware and calculate their build timestamps; a module that doesn’t match the vendor’s kernel likely indicates tampering.
Step 8 — Monitor for stealthy behavior over time
Capture DNS, HTTP(S) metadata and TLS handshakes. Tools like tshark can export SNI and certificate fingerprints even if traffic is encrypted:
Look for recurring patterns: same remote host, evenly spaced beacons, DNS lookups followed by short TCP connections — classic C2 behavior.
Quick reference tool table
| Task | Tool | Why |
|---|---|---|
| Packet capture | tcpdump/tshark | Full network visibility; extract SNI and certificate metadata |
| Port/service discovery | nmap | Find hidden listening services and unusual ports |
| Firmware extraction | binwalk | Unpack squashfs/jffs2 and expose files |
| Serial console | screen/minicom via RPi GPIO | Observe boot, access shell when OS is tampered |
| File inspection | strings, sha256sum, diff | Find embedded domains, compare vendor vs live |
One last practical tip: keep everything reproducible. Save the pcap, extracted firmware, and checksums. If you find convincing evidence of a firmware implant, preserve evidence and avoid making ad hoc changes that could destroy indicators. Also, reach out to your vendor with the evidence — sometimes false positives happen due to vendor telemetry or third-party packages.